|
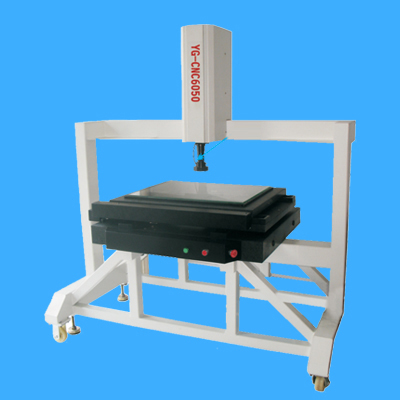
The combination of the traditional optical YG series of products with the latest digital technology. his body was perfect in a very strict procedure of the assembly and testing completed, it is high quality, Analysis of the HDTV camera system has no teeth screw with the Movement system of surveying, its very source measurement system is used to help cool the LED light source. 2.5D combination with the company's own research and professional measurement system is installed with the naked eye before it can be observed under the microscope in the traditional imaging to digital. its storage to the computer for various types of measurements, drawings. The results are measured and may spread to create engineering drawings in AutoCAD. OFFICE formation and spread to the report, more powerful SPC statistical function. | |
| | |
|
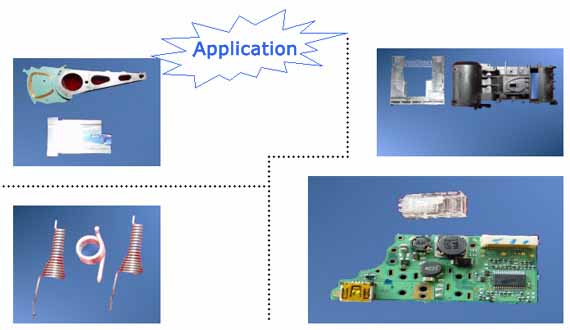
This series of products adapted to the ordinary detection tool can not be measured, such as : size of the tiny clocks, springs, plastics, Ore jewelry, semiconductors, hardware, equipment, electronic measurement. In particular, some irregular jobs, through a dedicated measurement software, you can do some reverse engineering Chaoshu 2D. |

| |
| Innovative measurement methods |
|
Foot function directly on the screen using the mouse to do dynamic measurements Painting
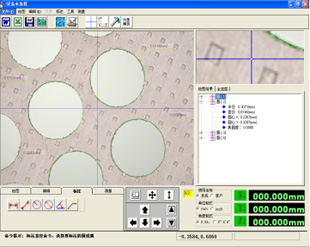
2. Cross Line software itself can be passed directly on the screen to do dynamic measurements, drawing. | |
|
Friendly interface measurement |
 |
All the functional buttons fast, as used in all forms, so as to achieve easy to learn, easy to understand the purpose.
For exampleŁş  test indicated round of the three round red circle is suggested that you need to take three points in the round on all parameters can produce . test indicated round of the three round red circle is suggested that you need to take three points in the round on all parameters can produce .
Overall layout perfect, clean, reasonable and consistent with the measurements used to measure staff
|
| |
|
Powerful measurement functions |
In addition to the software to retain some traditional functions of the measurement (measuring point, line, circle, arc angle).  new round of multi-point can be determined from a round 0~999 point, a real parameters of roundness. There are also two from the circle center,  PIN anywhere Circular intersection point of the round. so on some very practical points from the line to meet customer demand function | |
|
We feature |
|
|
| |
|
Company Name :YONG GANG PHOTOELECTRICITY PRECISION INSTRUMENT CO.,LTD
|
|
Date :March 11, 2005 |
time:09:41 |
|
Measuring instruments : |
Tester:jerry |
| No. work:DKB002 |
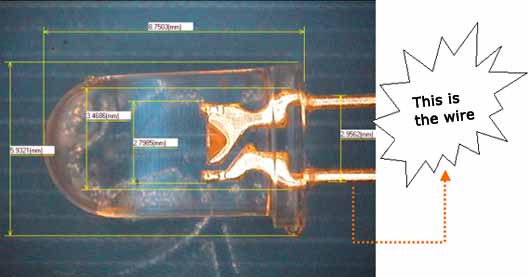
Name of the workpiece :Overhead LED |
|
Units :mm |
Confirmer :jerry | |
 | |
 |
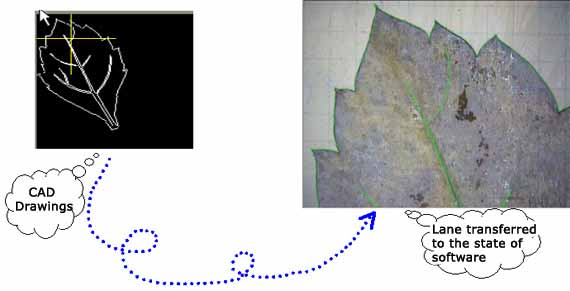
AUTO CAD directly to, and DXF files can be arbitrarily CAD drawings sent to work with software for real-time contrast workpiece. | |
 |
 |
SPC statistical functions (pass rate can produce statistics, R analytic plans, of course, a lot of X-analytic plans Ca, Cp. Cpk among these Eastern) | | |
 |
| | | |
| Equipment models |
YG-CNC5040(T) |
YG-CNC6050(T) |
YG-CNC8060(T) |
YG-CNC9060(T) |
Size metal worktable
|
500*400*250 |
600*500*250 |
800*600*250 |
900*600*250 |
| Glass Taiwan Load |
Whole the machine loadˇÜ80kg |
| Effective range of objective |
75mm |
| Lens magnification |
07xˇ«4.5x |
| Eyepiece magnification |
05X(Standard)0.75X,1X,1.5X |
| After the imaging magnification |
(Standards)18Xˇ«120X |
| X.Y Linear Precision |
4+L/100um |
| Grating scale resolution |
0.001mm |
| Total Weight |
Random |
| Machine Size |
Random |
| Data Output Format |
DXF.EXCEL.WORD |
| Power Requirements |
AC 220V 50-60MZ | | |
|
